Modern routers are pretty good at filling your home with a wireless internet connection. Most people know how to fix dead zones by upgrading their router or – better still – by choosing a mesh Wi-Fi system instead.
But what about outdoors? Plenty of devices still need a connection outside, such as security cameras, smart lights, doorbells and simply your phone or tablet when you want to use it in your backyard. Even BBQs and other outdoor gadgets are starting to come with Wi-Fi, meaning there’s an even greater need for good al-fresco Wi-Fi.
Since you’re reading this, you already know that your home’s walls are a fairly effective Wi-Fi barrier, which is why you can’t get online in your garden. And although the signals can penetrate glass without too much of an issue, there’s still the problem that signal strength gets weaker the further away you are from your router.
It can be annoying if web pages load slowly or Netflix is constantly buffering, but it becomes a major issue if you want to work in an outbuilding such as a garage or a backyard office.
Here, we’ll explain the options available and what it might cost you. If you’re lucky and you can reposition your router, it might cost nothing at all, but in most cases you’ll need to invest in some hardware to get the job done.
This article originally appeared on TechAdvisor.com.
Freebie – Reposition your router
In most homes, a single broadband router provides your Wi-Fi signal. But it’s a box which is often tucked away out of sight, which can seriously hamper its Wi-Fi.
In an ideal world, a single router would be positioned in the centre of your home. If you have two floors, that means as close to the ceiling of the lower floor as possible to improve reception upstairs.
Since we’re talking about better signal outdoors, you should place your router as close as you can to where you need internet in the garden.
oznor
Thomas Newton / Foundry
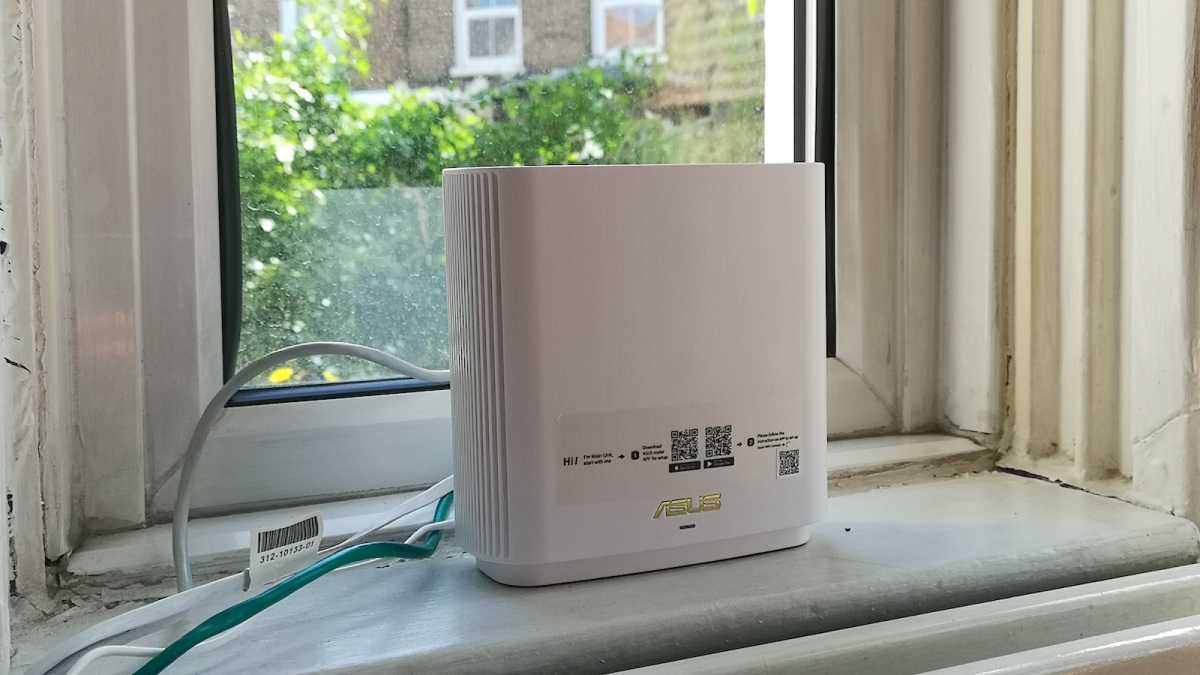
Many routers have internal antennae, such as the one shown above, which means there’s nothing to adjust: it should produce a 360° signal, but you can try placing the device so its facing the wall (or window) and see if that helps boost the signal outside.
Other routers have external aerials which can be angled in various directions. Again, making them face your garden can improve things dramatically if they are designed to be directional.
1 – Powerline adapters
This is the quickest, simplest and likely most cost-effective option for most people, but it relies on there being mains power where you want to get a Wi-Fi connection.
Any socket will need to be in a position where the powerline adapter can’t get wet, which means this option is best for those wanting reliable internet in a garage or shed.
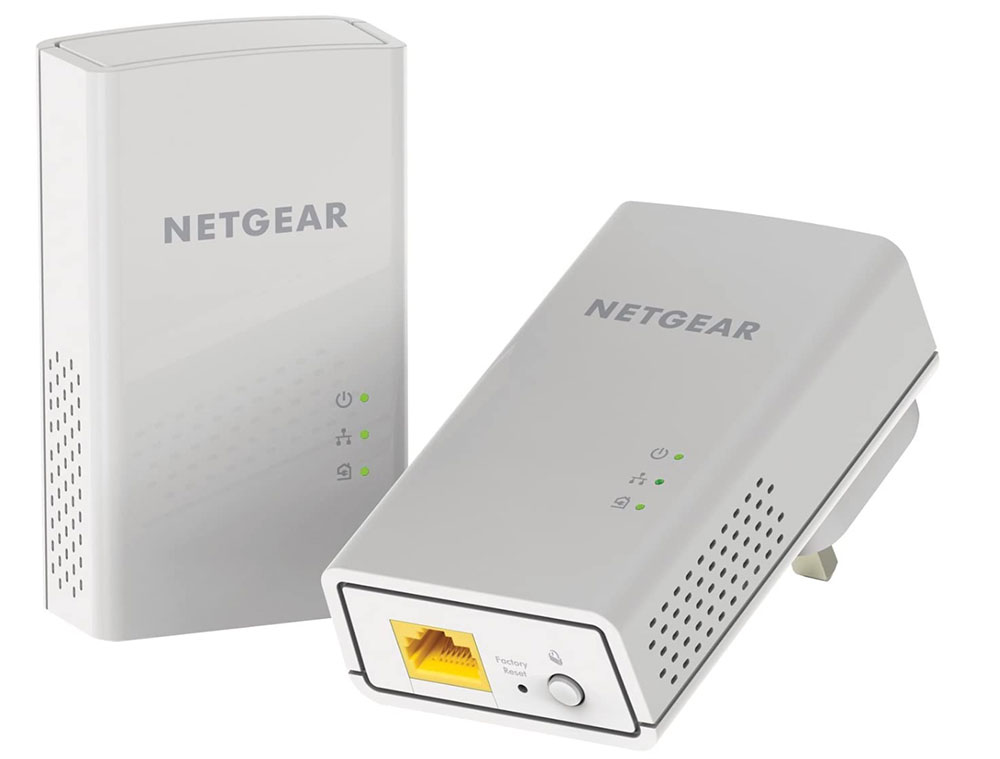
Powerline adapters turn electric cables into network cables, so you plug one in next to your router and the other in a socket where you need Wi-Fi. It’s crucial to note that standard powerline adapters (such as the Netgear ones shown below) don’t have Wi-Fi, so you need to buy a kit where one of the plugs has built-in Wi-Fi, such as TP-Link’s TL-WPA8631P KIT ($107.99 / £89.99).
Netgear
The drawback of powerline is that they can be relatively slow. Theoretically, the TP-Link kit offers 1500Mbps, but in reality, you could get 40Mbps or even less. That’s because powerline doesn’t seem to like long distance runs of mains cable, such as one running from your house to a garden room.
You may get better performance, but it’s very much dependent on the age, quality and length of the mains wiring – as well as the ability of the powerline kit.
That sort of speed might be ok, though, as it’s fast enough for general work. You need around 5Mbps for a basic-quality video call, but if you want a higher speed for downloading or uploading large files, you might need to go for an alternative method.
2 – Buy an outdoor Wi-Fi antenna
If you don’t have power outside, an alternative option is to buy an outdoor Wi-Fi antenna. These come in two varieties. The first type screws directly to your router in place of one of its normal antenna, but you need to check your router to see if has removable ones or not. Most don’t, so this tip won’t be any use at all.
There is another way, though: an external USB Wi-Fi antenna. This isn’t quite the same thing, though. It’s designed to be connected to a remote device such as a laptop. You could mount it on the wall of your garden room – or garage – facing your house and it should be able to pick up the weak signal coming from your router. They’re more expensive, starting at $40 / £30.
TP-Link
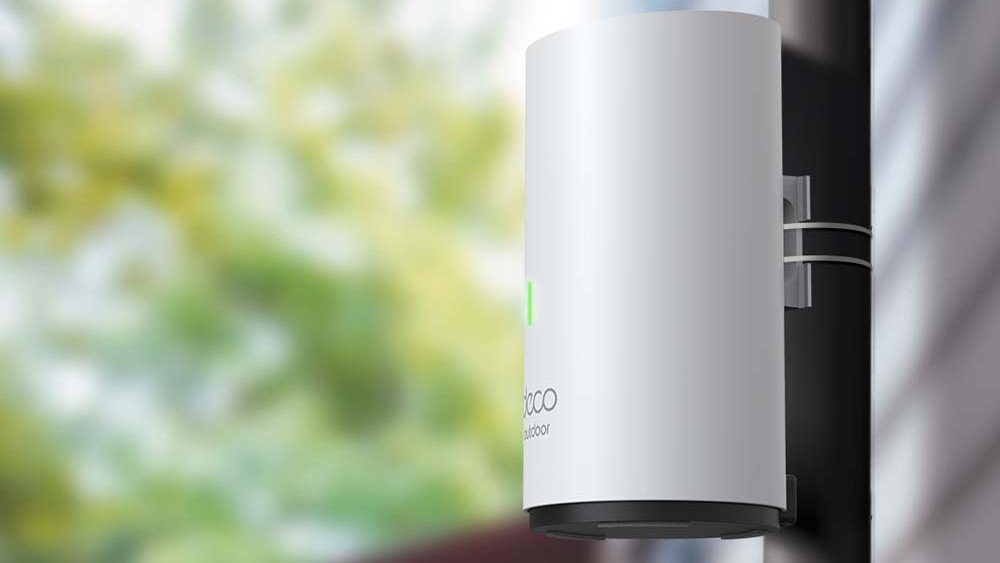
A third option here is an external Wi-Fi router such as the TP-Link Deco X50 Outdoor (above). It costs $149.99 / £109.99 and can be mounted on a pole or a wall. Although it’s part of TP-Link’s X50 mesh Wi-Fi range, you don’t have to use it with the X50 system. You could connect it to your usual router with an Ethernet cable and get the same effect. It should provide strong Wi-Fi at distances of 200-300 feet (60-90 metres) – possibly more if there are few obstacles.
3 – Buy a Wi-Fi extender or mesh Wi-Fi kit
If you can’t move your router nearer to where you want an outdoor signal, a Wi-Fi extender is another option.
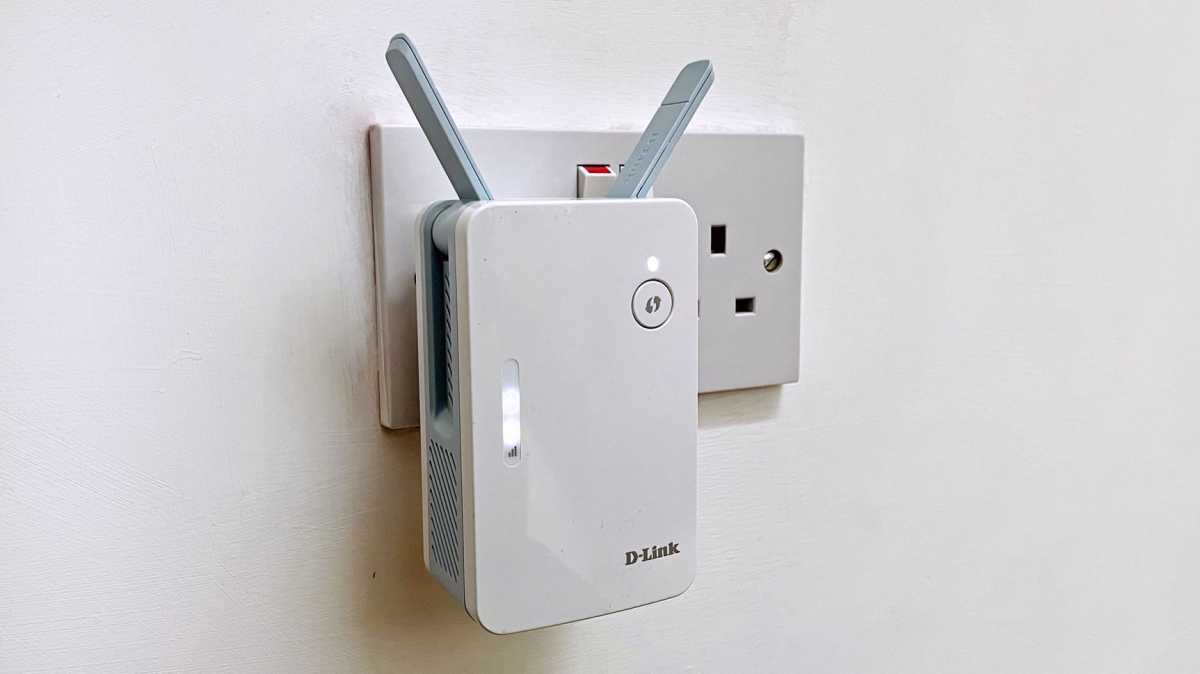
They don’t cost much – less than a pair of powerline adapters – and can give your Wi-Fi a boost so you can get online in your garden.
Jim Martin / Foundry
There’s a drawback though: the way extenders work is to take the signal from your router and re-broadcast it, which means they must use half their speed to receive the signal and the other half to broadcast it, so they’re not the fastest choice here.
However, like powerline, the speed you get might be enough. The main problem is that it isn’t possible to say exactly how much outdoor coverage you’ll get from an extender: they should be fine if you only need a Wi-Fi signal close to your house (say within 20-30 feet), but may not give you an internet connection inside an outbuilding further away.
If your outbuilding has power and it isn’t too far from your house, you could try plugging in an extender in that outbuilding and see if can get a strong enough signal from your router.
If it’s more than around 30 feet from your house, though, chances are the signal won’t be good enough for an extender.
It’s a similar situation with mesh Wi-Fi kits. You can read more about mesh Wi-Fi in our roundup of the best systems, but suffice to say that these multi-router systems tend to need to be placed fairly close together – we’re talking similar distances to Wi-Fi extenders – so you’re unlikely to get a good enough signal for them to work properly if your garage / shed / garden room is over 30 feet from your home.
4 – Run old-school Ethernet
The way this writer has overcome the relatively short reach of home Wi-Fi routers in the past is to use Ethernet cables, running them from the main router in the house to a garden room over 200 feet away. It’s reasonably cheap to do, too, especially if you’re happy to install them yourself.
The cable itself comes on a reel and is available in lengths of up to 100m (300ft). You want to buy cable rated for outdoor use and look specifically for cable designed for ‘direct burial,’ such as this listing available in various lengths. Don’t whatever you do try and save money by getting indoor Ethernet. Without a hardy PVC coating, it will quickly deteriorate in the sunshine and doesn’t have the solid copper wires required to terminate it to a face plate.
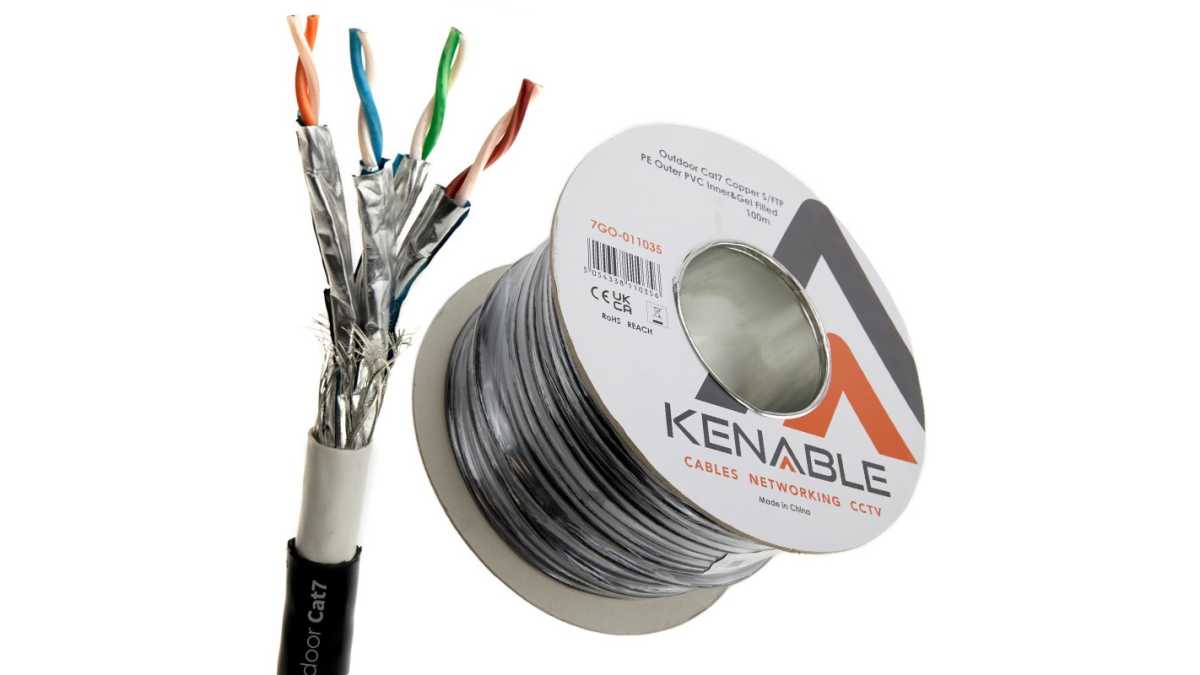
Kenable
You can buy ready-made outdoor cables with Ethernet jacks on either end, but you’ll need to drill a much larger hole in the wall than if you’re feeding thin Ethernet cable through. Plus, the special tool required to fit the RJ-45 connectors can be bought cheaply and isn’t difficult to use. For a more professional finish, though, you should install Ethernet wall plates instead of fitting RJ45 connectors. They’re cheap, easy to fit and only a little more difficult to wire up.
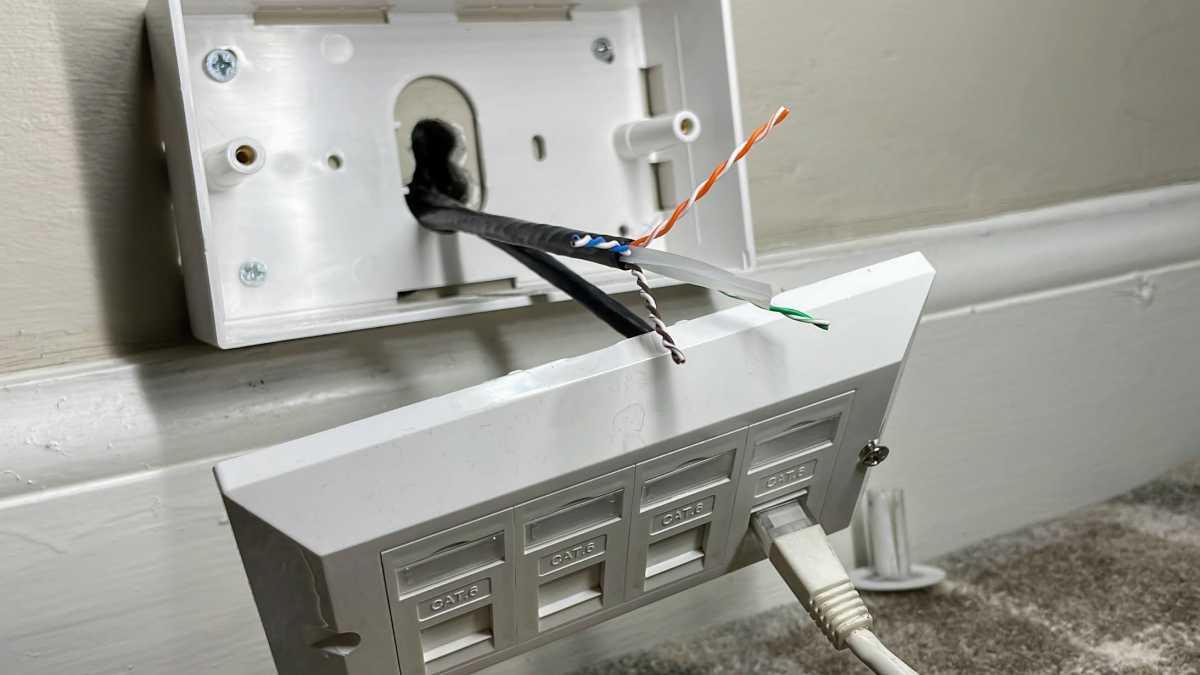
Jim Martin / Foundry
Whatever you choose, go for Cat 6 or better so it’s future-proof.
Once your cable is installed, you’ll have a super-fast internet connection in your outbuilding. To get Wi-Fi, you’ll need a second router (in access point or “bridge” mode) or, better still, a mesh Wi-Fi system that supports wired backhaul.
That simply means you can connect the routers using an Ethernet cable instead of Wi-Fi.
The beauty of this method is that you’ll have one seamless Wi-Fi network that your devices can use whether you’re in your house or in your outbuilding.
5 – Buy an access point
An access point is really just a different name for a Wi-Fi router. The main difference is that an access point is designed to connect to your existing router and provide Wi-Fi in another area.
They’re for offices, mainly, and aren’t really aimed at consumers. They’re the sorts of devices that you can have professionally installed when consumer networking gear just isn’t up to the job.
While mesh Wi-Fi often does a great job indoors, it’s not so great if you need a fast connection in your garden office or garage, and an access point can be the solution.
Depending on the distances involved, you may need just one mounted in your remote location facing the house. In this setup – called client mode – it becomes a receiver, taking the signal from your existing router or mesh system and providing the internet connection you need in your backyard.
You’ll want to choose a model that can still deliver a Wi-Fi signal to your devices while in client mode, such as the $40 TP-Link AC750.
If your outbuilding is a really long way from your house, you might need to buy a point-to-point (PtP) Wi-Fi system. This is essentially two access points which create a wireless bridge. They can be indoor or outdoor models, with outdoor ones working over kilometres rather than metres. It’s probably overkill for home use, but it can provide the reliabililty you need.
The cost varies a lot depending on the speed you want, whether you need a pair or just one, and whether they can be mounted indoors. Outdoor models are more expensive, of course.
You can pick up a single access point for as little as $50, although that’s for a basic 802.11n model which won’t offer very quick speeds. Many brands sell access points, including TP-Link, D-Link, and Ubiquiti.
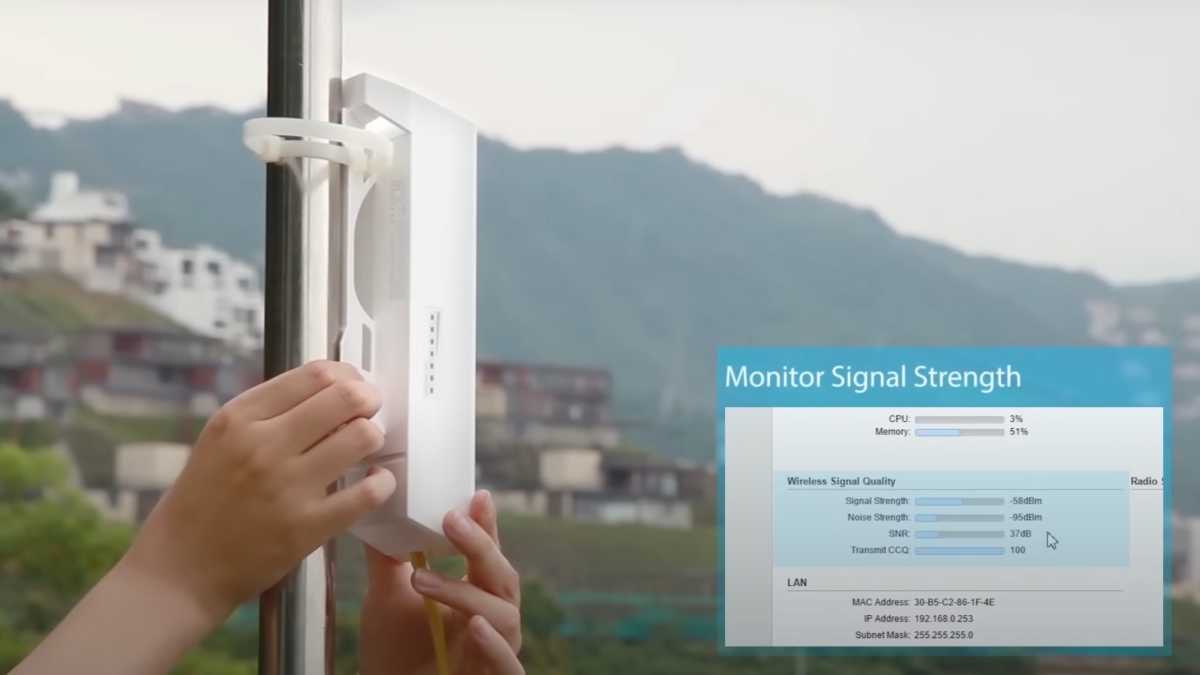
TP-Link
A faster, more powerful and more rugged model could cost from $250 – $1000 / £200 to £800, so the price can really mount up for a pair, and it’s worth considering that you’d get a faster and potentially more reliable connection by running Ethernet cables down your garden.
Generally, these access points work using Power-over-Ethernet (PoE) which isn’t something many homes are set up for, so usually require extra hardware. This is another reason they’re the sort of device you’d want to have installed by a pro.
Some PtP units come with PoE mains adapters that make the job a lot simpler for the DIYer. If you’re not going to call in the pros, make sure you do your research and understand exactly which kit you need to make it all work.
Hopefully by now you understand all the options available to get a better internet connection in your garden, most of which don’t cost too much and are easy to install yourself.


