Editor’s Note: Recently, an unfortunate lawyer joined a hearing with a cat filter enabled. The poor “cat lawyer” quickly became a viral sensation, which we’ve embedded at the end of this story. Here’s how to create filters (like a cat filter!) using the Snap Camera…and also how to turn off the Zoom filter, too.
Creating a funny Zoom background is so March, 2020. Instead, it’s time for the new hotness: Dress up as a virtual pirate, a potato, or a slice of pizza! It’s all available with Snap Camera and its photo filters for your next video call—Zoom, Microsoft Teams, or something else.
And yes, you can do it on your PC’s webcam. You may already know how to mess around with Snapchat filters on your smartphone, but did you know you can use them on your PC, too? Zoom (and now Teams) can superimpose a custom background behind you, but Snap Camera can do that and give you a digital costume. Here’s how.
We’ll warn you, though: At least in our tests, the strain of two apps (Snap Camera and your video calling software) fighting for the same camera sometimes caused Snap Camera to fail. Rebooting seemed to solve the issue, but you may want to try out our tutorial a little before your call is scheduled to begin.
Get started with Snap Camera
Of course, you’ll need to download the Snap Camera software first via the Snap Camera website. The system requirements are in the Snap Camera FAQ, and we’re repeating them below for you:
Operating System: Windows 10 (64 bit); MacOS 10.11+
Hardware: A minimum of Intel Core i3 2.5GHz or AMD Phenom II 2.6GHz with 4GB RAM; plus at least a Intel HD Graphics 4000 / Nvidia GeForce 710 / AMD Radeon HD 6450 GPU
Remember that you’ll need to run Zoom at the same time, and that application requires a 7th-gen Intel Core chip or younger, and the best webcam you have. As a result, you’ll need to merge both apps’ requirements to get this all to work.
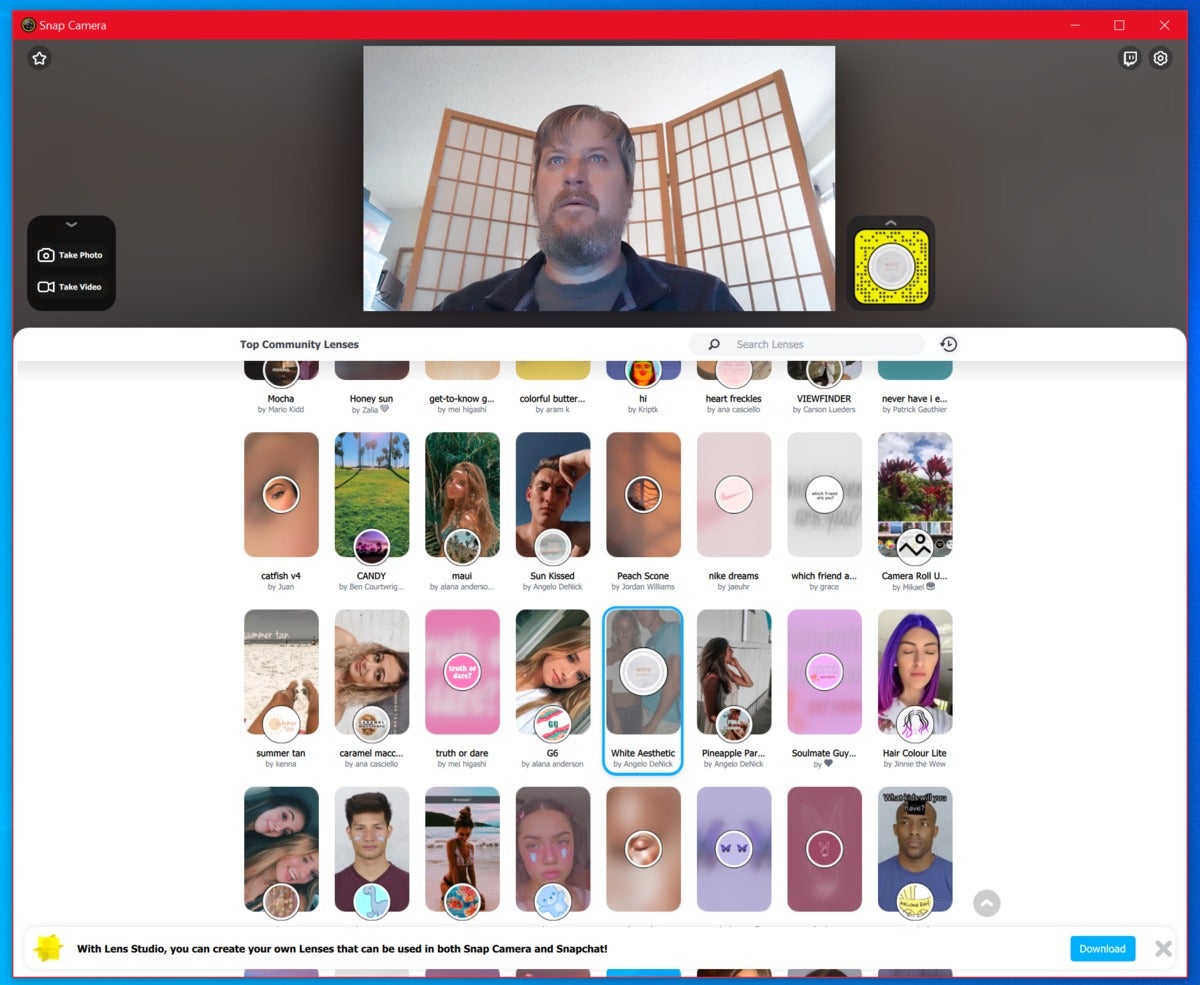
Once you’ve downloaded and installed Snap Camera, open up the application. You should see your face in the main window, with an array of “lenses” down below.
 Mark Hachman / IDG
Some Snap Camera lenses are subtle, and either provide background lighting effects or enhance your facial features, like smoothing out wrinkles. Here, there’s hardly any difference.
If you don’t see all that, our advice is to restart your PC. Why? Because “Snap Camera” essentially takes over your webcam, and it needs unfettered access to do so. If you have a PC with a user-facing as well as a rear webcam, you may know that you’ll need to select the appropriate webcam to use in Skype. The same applies here. Snap’s help pages are full of troubleshooting tips that recommend restarting the video chat application if Snap Camera doesn’t work. You might find that simply rebooting avoids the need to start poking through individual apps.
Go crazy with Snap Camera’s lenses
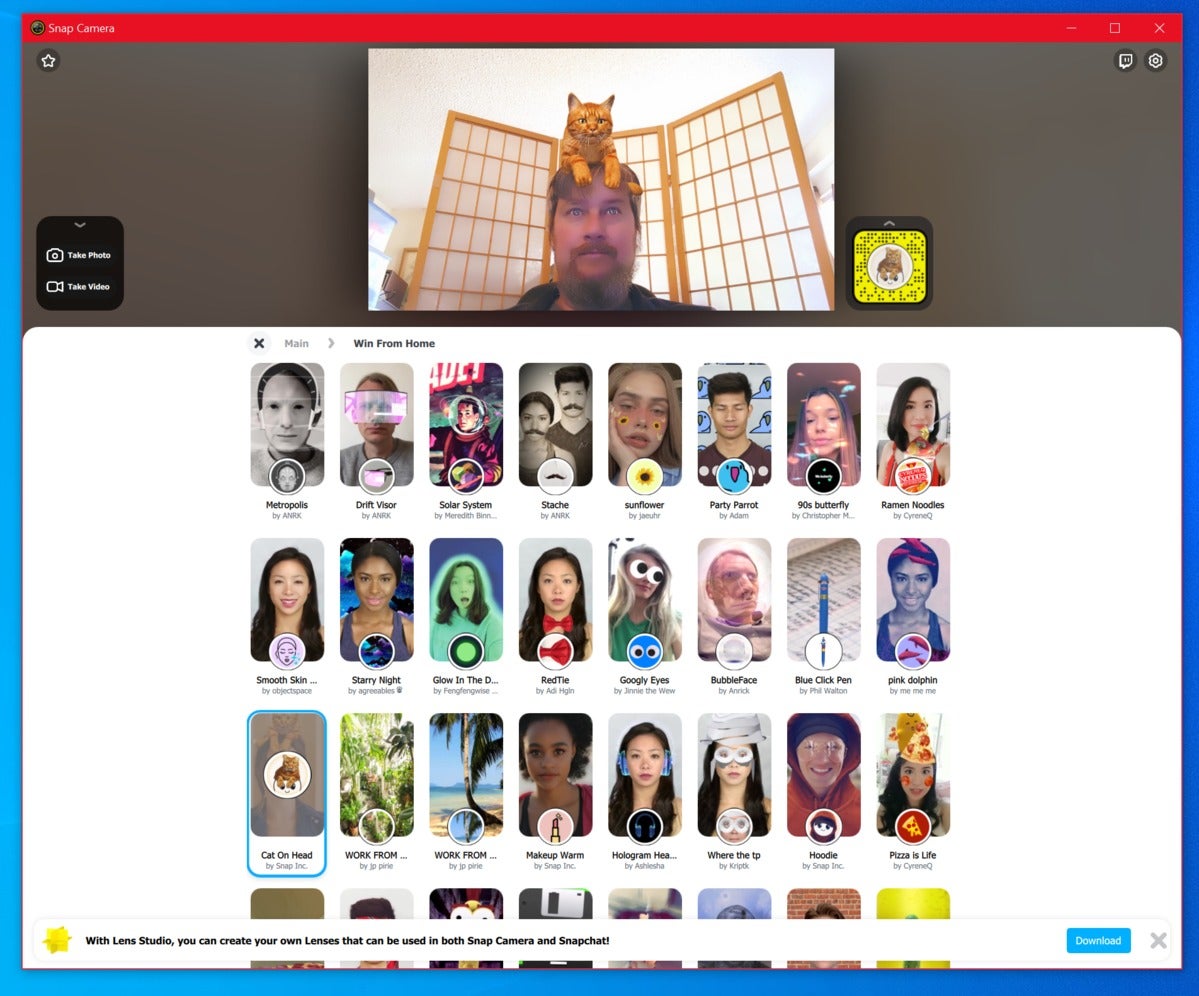
If you do see your face in the Snap Camera’s screen, great! Go nuts. See what works for you and what doesn’t. Snap Camera’s strength really isn’t its custom backgrounds, thought there are many to choose from. What you should use Snap Camera for includes all the digital costumes—such as simple putting a virtual cat on your head, like so:
 Mark Hachman / IDG
Meow.
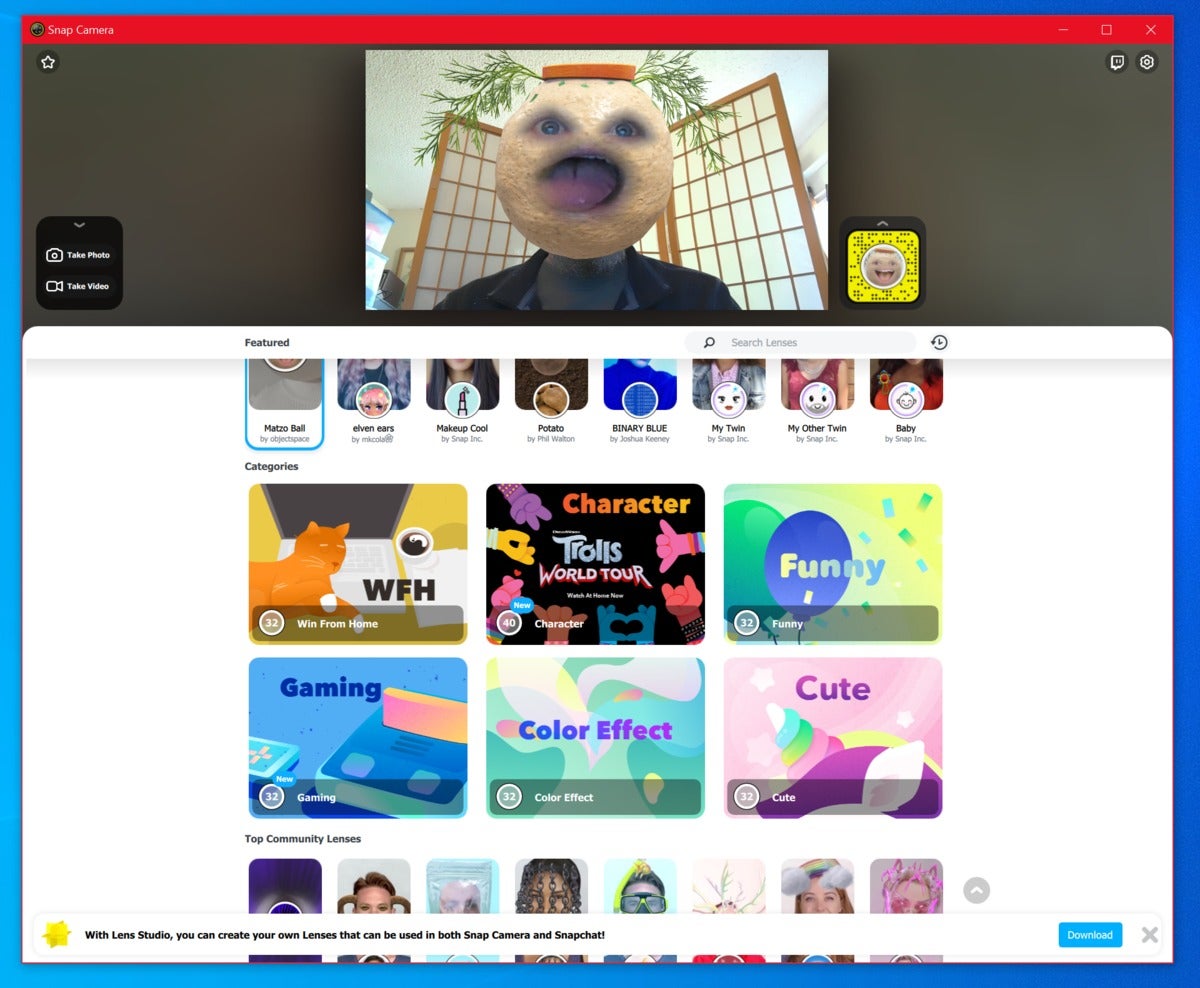
…or transforming into something horrific like whatever this thing is.
 Mark Hachman / IDG
This lens is branded as “Matzo Ball,” but it looks like a knockoff of the Annoying Orange, an Internet personality.
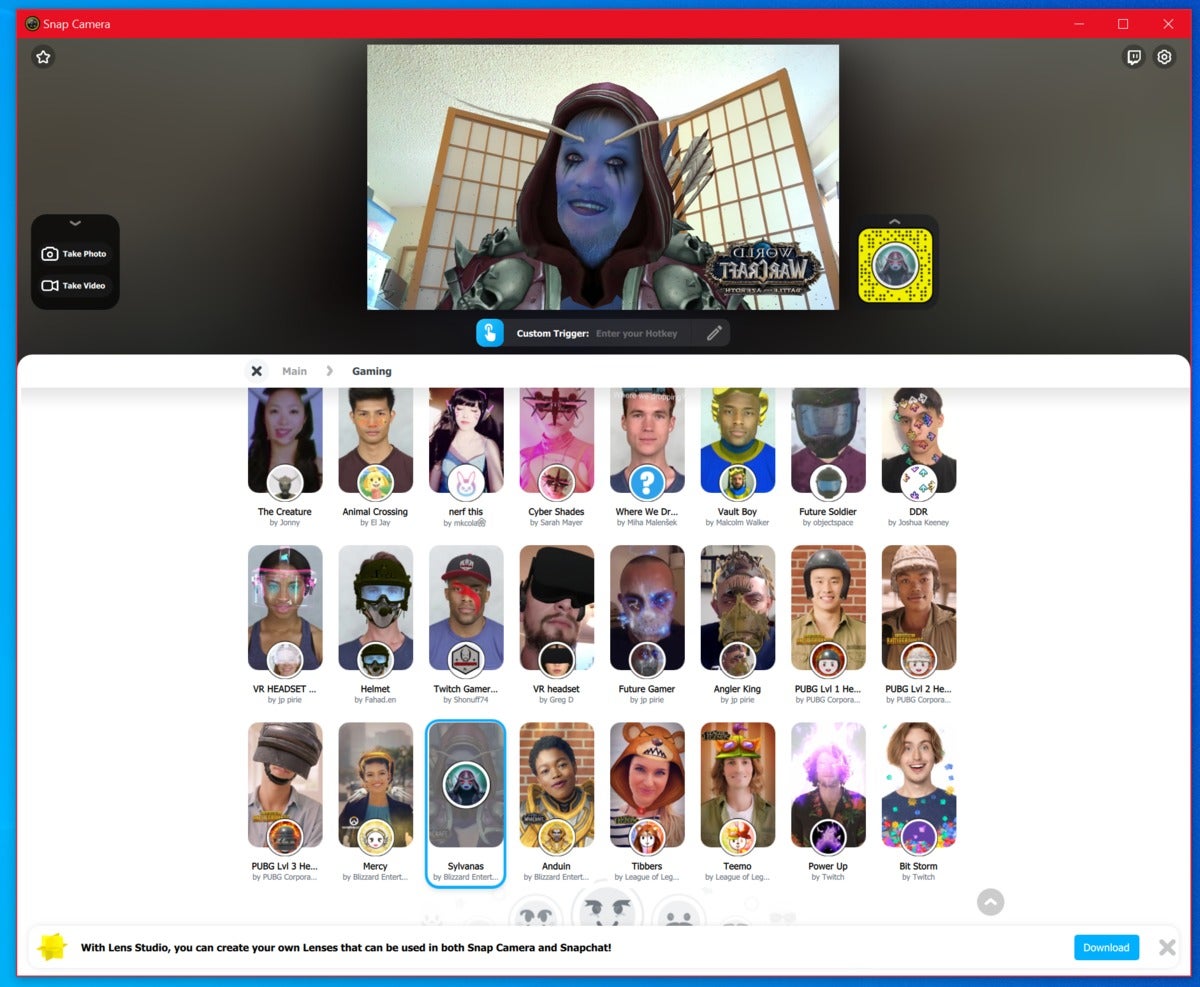
There are even “branded” Snap lenses in case you want to nerd out and turn yourself into a character from a video game, such as World of Warcraft.
 Mark Hachman / IDG
Goodness, I’m pretty. (Note that you may need to play with the Snap Camera options to get the logo to display correctly with “mirroring” options. You might also be able to do this in the videoconferencing application.)
In most of these, however, you’ll notice that Snap Camera tends to favor lenses that superimpose digital costumes or lenses over the user’s face.
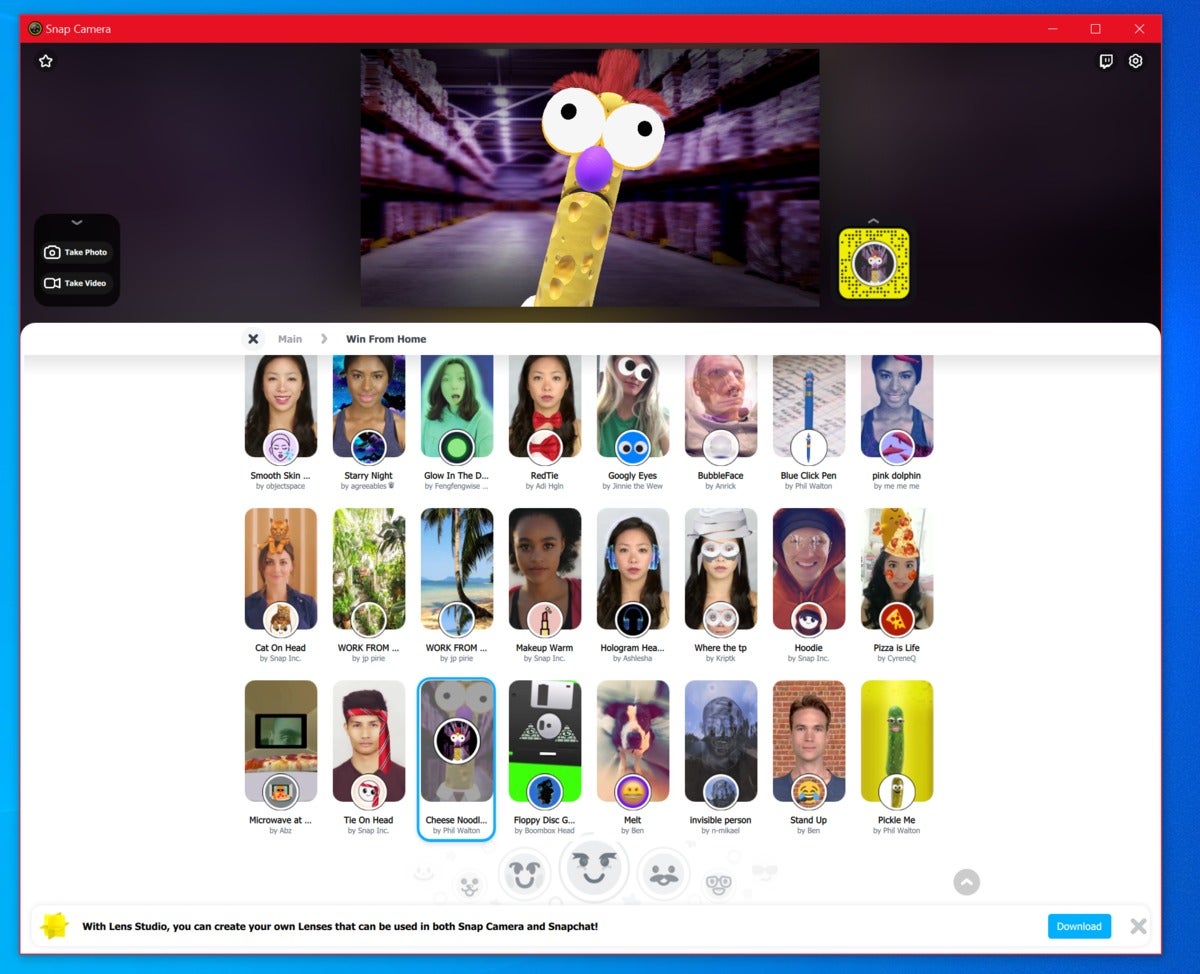
Snap Camera does have some virtual backgrounds. Likewise, it even has lenses that transform you as well as your background completely. With the rash of Zoom-bombing, though, do be aware that some people on the call may be concerned if they’re unable to identify you visually.
 Mark Hachman / IDG
Most Snap Camera lenses obscure the background or digitally alter your appearance, not both. This is an exception.
How to use Snap Camera in Zoom, Teams, Skype, and more
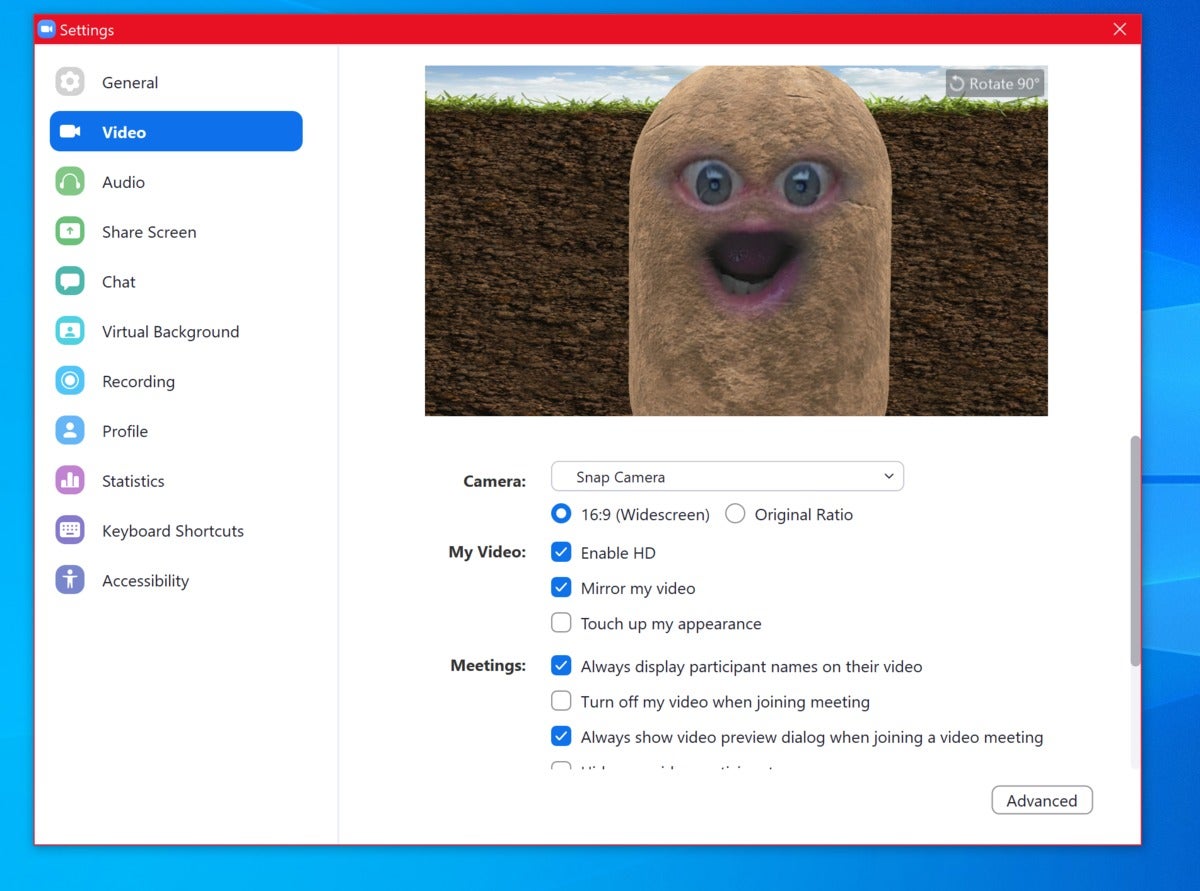
It’s surprisingly easy to use Snap Camera in conjunction with most videoconferencing apps, though you’ll need to understand that the app sees Snap Camera as just another available camera. You’ll have to select this camera for others to see you in all your Snap glory.
In any case, the procedure is generally the same. Let’s use Zoom as an example.
First, consider rebooting (after saving) to give your PC a fresh start. Then open the Snap Camera app, minimizing it if necessary. Both of these steps may not be essential, but Snap Camera seems particularly sensitive to shared resources.
 Mark Hachman / IDG
Make sure you have “Snap Camera” enabled in your video preferences.
Next, open Zoom. You’ll need to enter the Settings menu, specifically the video options. Here, you’ll usually have an option of selecting which camera to use for your feed—remember, adding Snap Camera gives you a choice! If all goes well, the video preview window will now show you with your Snap lens in action.
How to mix and match Snap Camera lenses and Zoom backgrounds
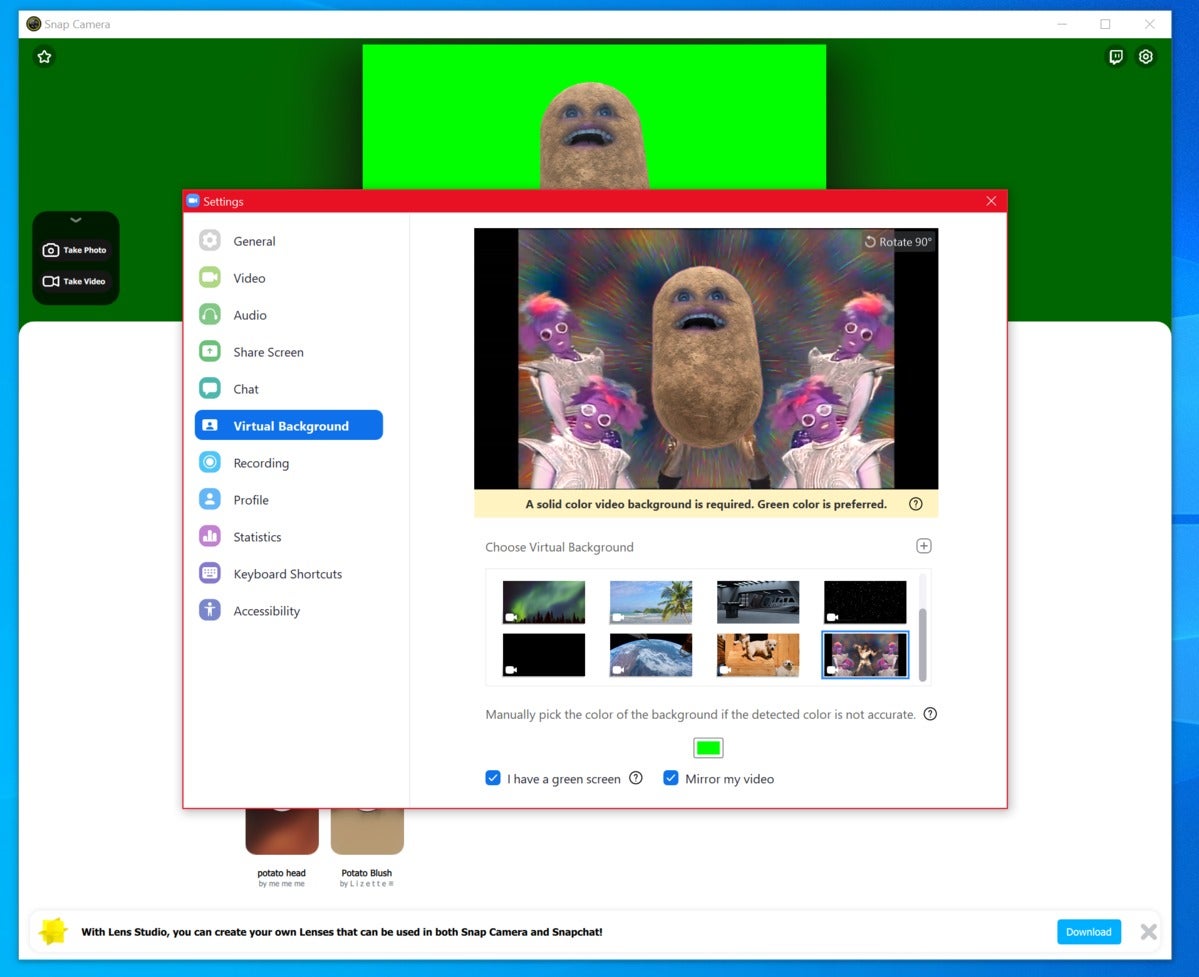
If you try to take your Snap Camera lens and then layer it on top of a Zoom virtual background, it may not seem to work. But wait! Here’s how to put your Snap Camera lens on top of a Zoom background in just a few clicks. This works for both the static as well as video Zoom backgrounds we showed you earlier.
In Snap Camera, simply click the video window that shows your Snap Camera lens. One click will eliminate the background entirely; a second click will add a green screen. That’s the secret.
 Mark Hachman / IDG
Just a couple of clicks and you can mix and match Snap lenses and virtual backgrounds.
Now, when you enable your Snap Camera lens in Zoom, Skype, or Microsoft Teams, it should layer the Snap lens on top of your custom background. A potato on top of dancing space aliens? Absolutely. The only limit is your imagination.
Just make sure that you turn off your Snap Camera before joining an important video call, like the poor “cat lawyer” forgot to do, in the video below. You should be able to select your laptop’s camera or webcam within the Zoom video settings, not the Snap Camera. Be sure to preview your video before joining! If you run into a situation where the Snap Camera isn’t working, try rebooting. At worst, you can uninstall Snap Camera entirely. Have fun!
